All through my research and reading this year one argument keeps on coming up, time and time again: studio or available light?
The arguments go along the lines of
“Anyone who insists on only using available light does so because they don’t know how to use flash”
and
“Natural light is beautiful. I don’t need flash because I know how to see available light”
And different variations thereof. I’m not going to take sides here, personally, I don’t care which is better. I’ve created beautiful images using studio flash, daylight and a mixture of flash and daylight.One little pearl of wisdom I came across was “once the light has left the flash it doesn’t care how expensive the light was” (Adam Duckworth, Advanced Lighting Course, April 2009). Such a simple observation and so very true. It is also extendable to include sunlight and moonlight too.
When it comes to light, my preference is to make use of what ever is available. All I know is that I really don’t like overhead flourescent tubes.
Available Light…
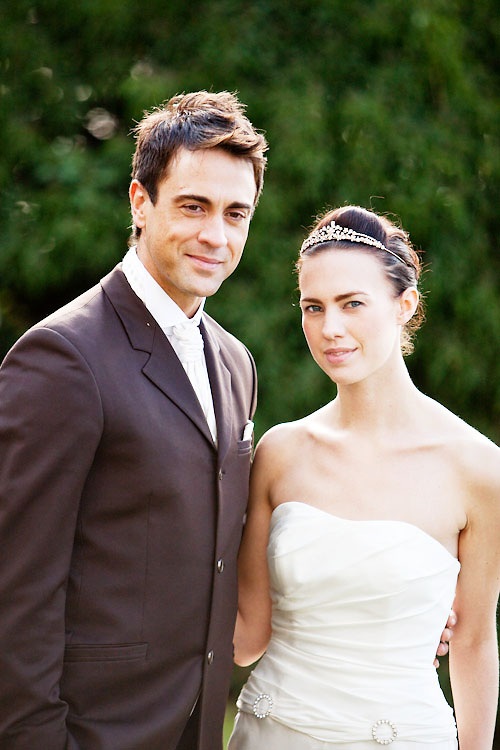
I adore soft, natural light that you can find on a cloudy day or on a bright, sunny day if you know where to look for it. It is truly fantastic to work with and gives stunning results. Every single shot I took on the Wedding Seminar used only natural, available light. I’m really pleased with the results. In fact in a conversation I had with someone yesterday, he couldn’t believe that they were all taken with only natural light. Even the ones inside the church.
Where available light gets difficult is in direct sunlight. The extreme contrast can and will destroy the image. The subject will often squint leading to an unflattering contortion of the face. Should the subject have any lines and wrinkles, such hard light can make them look much older too.
Then there is the light at dusk which is truly magical but only lasts for such a brief moment every day.
Studio Flash…
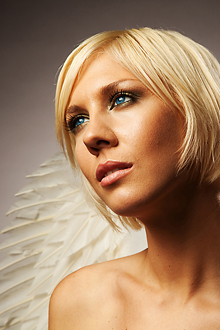
The studio flash, whether being used in the studio or on location provides a level of control that is second to none. It does add a new level of complexity to the problem that needs to be mastered before one it truly competant. Cost aside, there is a huge tendency to add more and more light until the desired effect is achieved. Sometimes simplification will work much better and yield great results that are much more repeatable.
I’ve found that studio lighting works best if ones builds it up one light at a time. Every light should add to the overall effect and have a specific purpose. The complexity comes from the flexibility. There is a huge number of variables to consider such as:
- Power or brightness of the light
- Size of the light source? Big or small (when compared to the size of the subject)
- Light quality or hardness/softness
- Direction
- Distance to subject
- Colour
- Shape
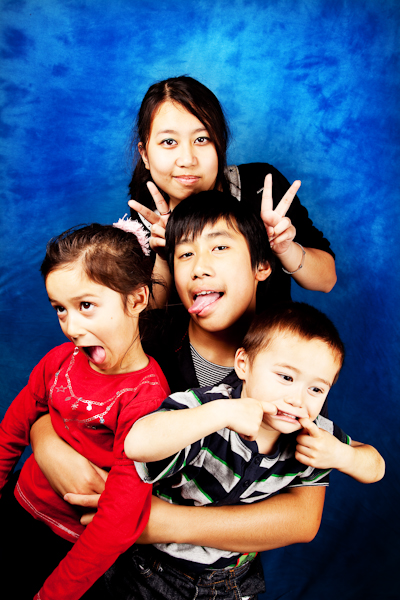
And the more equipment you have, the bigger the problem gets. The range of studio light accessories is immense: brollies, soft boxes, beauty dishes, reflectors, snoots, grids, gridded snoots, gridded soft boxes, gels, flags, gobos, cookies, etc. etc.
Don’t let me put you off though. I love working in the studio. I had such an amazing time when I took Adam Duckworth’s workshop in advanced lighting earlier this year and the images I shot were stunning. It really whet my appetite for more but I appreciate that I have so much to learn.
One of my goals is to fit out my own studio. That will need to wait until I’ve gone fully pro. In the meantime I’m happy with my own two-head set up. It packs away very small making it suitable to take to a client’s home. In fact, it is so portable that I have taken it with me on the bus, train and tube on several occasions.
Don’t discount the little lights either. I’ve made some great images using a speedlight and brolly on a light stand. This type of technique for off-camera flash is commonly referred to as Strobist.
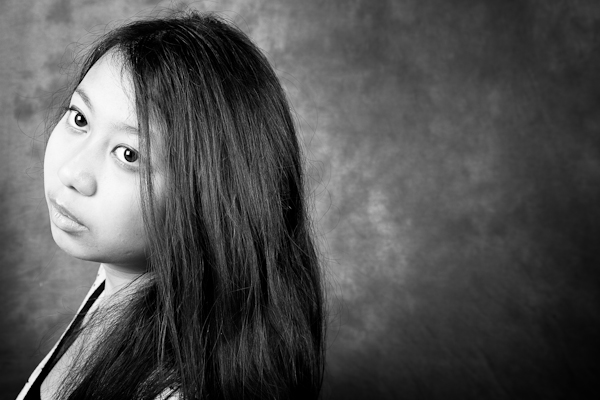
Strobist…
One of the pioneers of this type of technique is David Hobby. Its a really fun and portable way of achieving studio-like results almost anywhere. Check out David Hobby’s blog for some great information on how to set up and work with this type of technique.
Believe it or not, this is actually more expensive than buying your own studio light kit but what you are getting is ultra portability and the ability to set up a studio shot in less than two minutes. Yes, really!
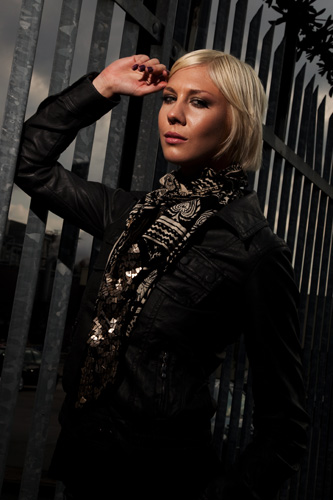
It is much easier to work on location too. You don’t need to carry a heavy power pack of generator. Speedlights are designed to work off AA batteries. True, you don’t get the power of a professional studio head but that doesn’t matter. You’ll find you can work very close to the subject so you end up with a beautiful soft light that wraps around the subject. For many of my shots using this technique, the brolly has literally been just out of the frame.
It’s worth experimenting with mixing speedlights with available light for creative effects. The two shots below were created by setting the speedlight to overpower the available light.
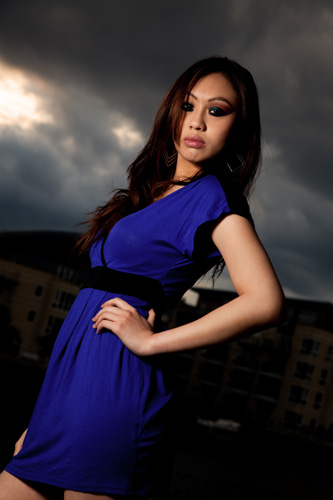
Or in more technical terms, the speedlight was the key light and the sun the back or rim light. Both of these shots were shot under similar conditions: bright, overcast day with lovely soft light. The speedlight was set to over power the ambient light and the exposure set to under expose the background by 1 to 2 stops. The result: great light on the model and dark, foreboding skies. The biggest difference between the two were that the shot of Leah was made using a plain speedlight on a stand. The one of Clavinna uses a shoot through brolly.
Summary…
I have no particular preference, one way or the other when it comes to lighting equipment. As long as the light is good, that is all I care about. If it isn’t I have the option to eaither find it or create it with whatever equipment I have to hand. It really comes down to making the best use of what you have to hand…
- If you only have the sun that is the best light for the shot.
- If the sunlight is too strong, go and find some shade or make some shade.
- If you have a speedlight, take it off the camera.
- If you have a studio, you have no excuses.
Have fun,
Gavin


